How to paint your home like a pro
Giving your home a fresh coat of paint is one of the most cost-effective ways of revitalising the look and feel of your home. And it's also a project that you can do yourself.
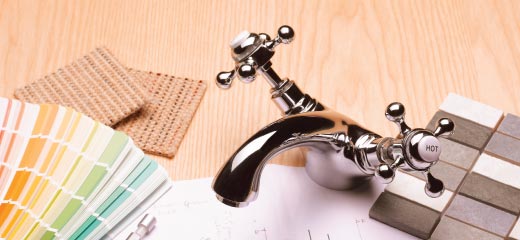
If you're still deciding on the best colour, paint type and textures to use for your home revamp, then turn to our Home painting tips that add style and increase property value article for helpful suggestions. Once you have made your selections, follow these tips to achieve a professional result.
-
Choose the right materials
Don't be tempted by cut-price paint options as you'll find yourself having to put on several coats of paint to achieve the look you're after and you'll find the colour fades quickly or doesn't stand up to washing. That doesn't mean you have to go for the most expensive option; ask your hardware store to advise you on the best brand and finish to meet your needs.
For areas that have to deal with humidity or high traffic, select a satin or gloss paint that will provide better water resistance and is easier to clean.
Invest in good quality paint brushes and rollers to get the best results without having to remove stray hairs or buy additional rollers to maintain the effect throughout the room. Speak to your hardware store about the different types of rollers and the effects they create.
If you're keen on using stencils, be sure to choose options that will survive more than a few coats and uses.
-
Gather your tools
Make sure you have all the equipment, tools and solvents you're going to need. This includes:
- Ladder
- Drop cloths
- An overall or old clothes
- Protective eye goggles
- Masking tape
- Sandpaper
- Paint tray
- Extension pole for your roller
- Rags
- Undercoat and/or primer
- Putty knife/paint scraper
- Crack filler
- Turpentine if you're using oil-based paint
-
Prepare the area
Move any furniture and household items out of your way and cover them with drop sheets to protect them from any errant drops of paint or splatter. Be sure to protect your flooring too.
Examine the wall or fixture for any holes or cracks and smooth out with crack filler. Scrape away any peeling or blistered areas of paint and lightly sand the area to help the paint adhere. Sanding is particularly important if you want to paint over enamel with an acrylic or emulsion paint. Give your surfaces a good clean to get rid of dirt and residue. Hot water and dishwashing liquid works well.
If your paint is in good condition and you're planning on using a similar colour, you shouldn't have to use a primer or undercoat. However, if you want to improve the porosity of the surface or are planning on making a significant colour change, you might need to use a primer, undercoat or both. Tinting your primer or undercoat will lessen stains and old colours bleeding through and reduce the need for multiple coats of paint. Speak to your hardware store for advice on which option is best for your needs.
Remove as many fittings and fixtures on or around the surface as possible. For those that can't be removed, cover with plastic or newspaper and secure with masking tape. Use masking tape to protect any bordering areas or windows, doorways, skirtings and cornices. Use a putty knife or paint scraper to remove air bubbles from under your masking tape and get a cleaner seal.
Open as many windows and doors as possible. Not only will this help your paint dry quicker, the added ventilation will help you avoid getting a headache from the fumes.
-
Get painting
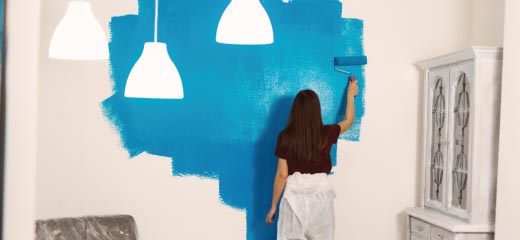
Start your painting at the highest point moving from the ceiling down to the cornices, wall and then the skirting boards; this will prevent the need to retouch areas because of paint that has dripped down.
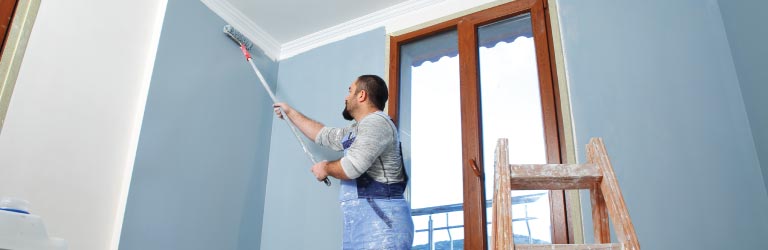
Going up and down a ladder all day can be very tiring, particularly as you need to move the ladder often for reach. A paint roller extension pole is a far quicker option, although you might find your neck complains, if you spend days using it.
With a good quality brush, apply paint to any hard edges you may have such as corners and mouldings. Avoid using too much paint as this will lead to drips, splatter and rivulets.
Once your hard edges are prepared, it's time to pull out your handy paint roller for the rest of the surface. Starting at the highest point of the surface, use even strokes in an overlapping 'W' pattern to get better coverage and a smoother looking finish. Make sure your rollers are not soaked in paint as you will end up with patchy colours, wasted paint and drips, splatter and rivulets which will ruin the professional look.
When it comes to trimmings, leave the paint to dry for 24 hours before sanding lightly, wiping clean and applying a second coat. This will result in a polished effect and prevent grain textures from showing through the paint.
Give your surface at least two coats of paint for a professional finish and allow the paint to set and dry properly before using a knife to carefully remove your protective masking tape.
-
Clean up properly
The last thing you feel like doing after a day of painting is cleaning up. However, taking the time to clean your brushes, rollers, trays and other equipment properly will mean they're ready for you to use the next time you decide to paint.
If you plan on painting again the next day, you don't need to clean your brushes and rollers. Simply scrape off excess paint, wrap securely in two layers of cling wrap and store in your fridge overnight. Remove from the fridge approximately 30 minutes before you intend to start painting again and you'll find they're ready to get back to work.
-
Keep leftovers for touch-ups
A few weeks from now you'll probably have forgotten the colour and make of paint you used for your revamp. And even if you do remember, you might find subtle differences in colour which jump out at you when you try to do a touch-up on your surface.
Store leftover paint in smaller tins or containers to prevent drying out and label with the colour, make and where it was used for easy finding.